I’ve been studying the steps of seed germination and the seed germination process for 3 years, starting seeds indoors, then planting seeds outside when the time is right.
February and the promise of spring overexcites me, longing for an END to dreary winter. My mistake like many others is starting too many seeds too soon – creating a big mess and a lot of dead plants. But I’ve come to the conclusion that there are only 2 real questions to answer…
‘How’, and most importantly ‘When’?
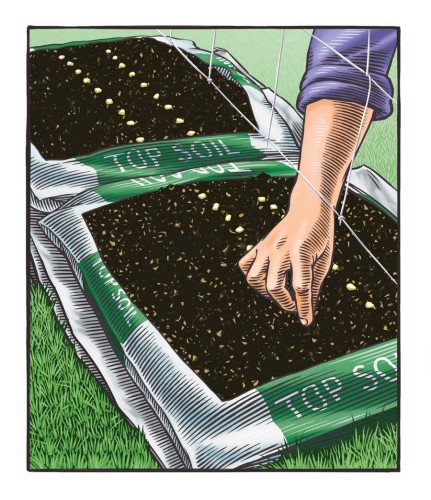
 The ‘How’ is easy. Set up a space with grow lights, fill seed flats with a nice soiless seed starter mixture and keep them moist. The seeds take care of the rest. I’ve already covered how in this post. Steps of Seed Germination Part 1
 The ‘When’ is trickier. I had wonderful success last year with vegetables, more vegetables than I knew what to do with, I couldnt give them away! Steps of Seed Germination Part 2 has to do with timing of vegetable seeds, so I created printable charts showing what temperature vegetable seeds and seedlings can withstand.
This year, Ive begun seed germination of annual and perennial flowers indoors and am trying to correct past mistakes…researching like a madwoman. Every plant germinates, grows and flowers at a different rate. Its important to get it right. Nurseries and commercial growers start seeds in the greenhouse in plug trays – flats with a lot of little tiny cells. Seeds germinate and the roots fill the little cells in anywhere from 4 to 6 weeks depending on the plant. Then they transplant the strongest seedlings into bigger cells or individual pots where they’re fed and another 4 to 6 weeks of growth is needed before blooms are expected.
But like I said, no two plants are the same and grow at different rates. I’ve been trying to build a chart for myself (zone 5) for days and have been searching plant by plant… until I came upon this spreadsheet. Add your last frost date and the spreadsheet will calculate all the dates and times you need to start and set out your plants.
An interesting event… The Lone Seedling. Not sure what this is about yet, but I’ll let you know what happens.

of almost 400 cells, one impatien seed sprouted. (plus a LITTLE one) its been that way for 2 days.
updates: March 29 – the other impatiens caught up!

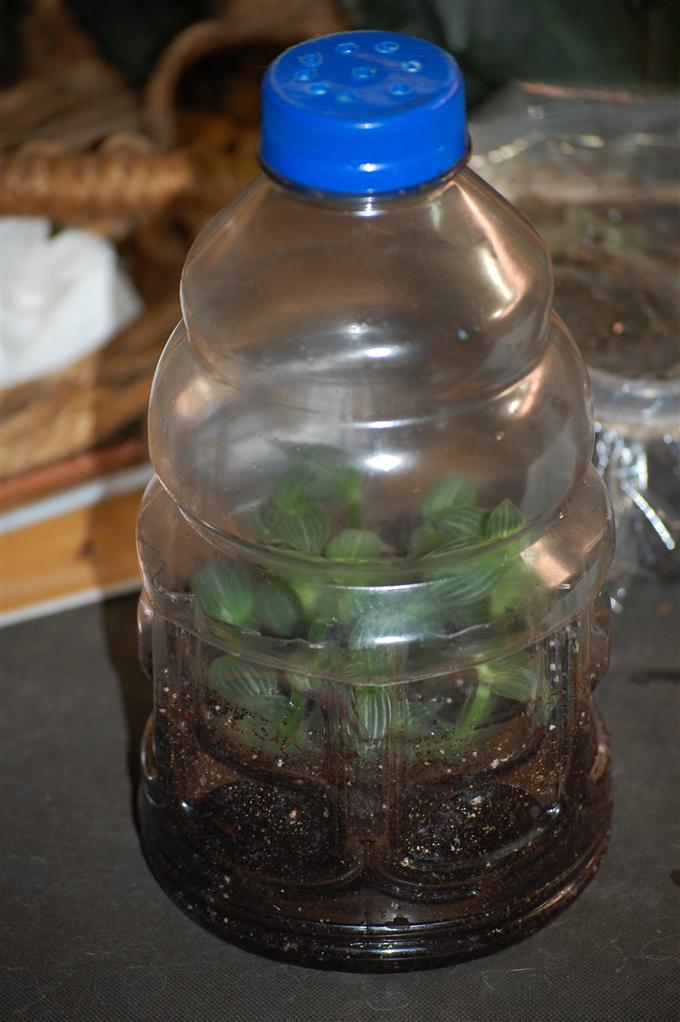
Seedling progress of Geranium (left), Convulvulus (middle) and Impatiens Balsamina (right) started Feb 17, 2011
March 1

March 7

March 24 (impatiens dont grow this fast, do they!?)

March 29 Transplants – Impatiens Balsamina

March 29, remaining in tray (more breathing room, phew)

March 29 Marigold (started March 7)

March 29 Zinnia Elegans- Cherry Queen (started March 15)

Steps of Seed Germination

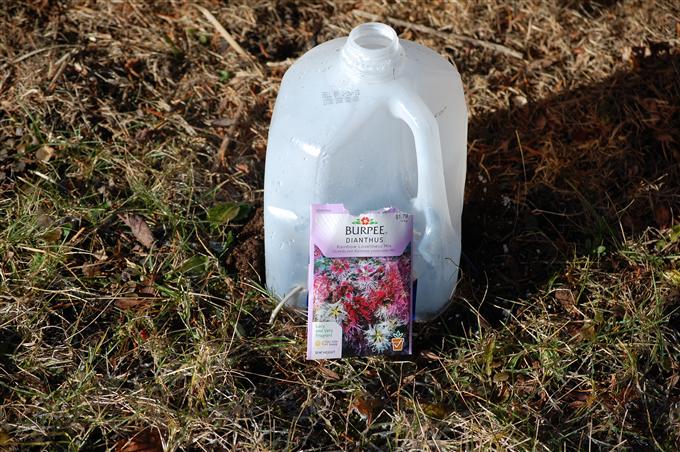

 Rescuing Soil on a Larger Scale